CAD/CAM
Materials that Truly Flow with my Digital Workflow
An all-on-four metal-free dental implant case

When I was first introduced to digital dentistry years ago, I knew that I needed to take my lab in that direction in order to keep up with the changing industry and to obtain a seamless workflow for me as well as my dental partners.
In the past couple of years my lab has been in a transformational stage from what was once only a vision. That vision started almost six years ago and has slowly been unfolding to what it is today. I knew that to truly achieve my goals, I needed to gradually incorporate a digital workflow that fit my progressive vision.
Putting together this concept of a digital workflow would require three things:
A. The Right Tools – specifically, a CAD/CAM system that would allow me to meet all individual requirements for my dental clients and patients
B. People – that would be available, able, and will to carry out this new workflow
C. Materials – enough choices to allow me to provide my dentist partners with unique solutions to each individual restorative request.
I need materials that have 3 important ingredients to fit the success of my digital workflow: beauty, strength, and simplicity to work with. I found that in Celtra, either milling a block or pressing it.
It took me some time to get my workflow to where it actually matched my vision, and finding the right CAD/CAM system was the starting point. Once I found the inLab® system (Dentsply Sirona) it became the foundation of what I wanted my laboratory business to be, and the workhorse for my business. I was also able to find people that not only could carry out and support my vision but believed in this progressive digital workflow as much as I did. Lastly, because new restorative materials are introduced far and few in between I am constantly seeking options not just high quality, but that fit my workflow and can meet all of the restorative requests from my dental partners.
Dentsply Sirona has recently come out with a new form of Celtra. It has all the great qualities of Celtra Duo chairside material but is now available in a pressable version created just for labs called Celtra Press. Thankfully, the inLab system is able to mill the widest selection of materials on the market and works perfectly with Celtra Press.
When it comes to all of my ceramic restorations I need materials that have three important ingredients to fit the success of my digital workflow: beauty, strength, and simplicity to work with. I found that in Celtra, either milling a block or pressing it. Moreover, as an inLab instructor, I am able to easily teach anyone how to invest Celtra Press since the flow of this material is so amazing. It’s a very tech-friendly material, and really difficult to make a mistake with it while creating your restorations. I’m investing and pressing with confidence, and after only one use I’m seeing that others are as well.
Case Presentation:
All-on-four style implant cases without the use of metal takes a combination of multiple materials. Here is an all-on-four case that combines four major components: the inLab system, Trilor, Celtra Press, and GC Composites.
Step-by-Step Case:
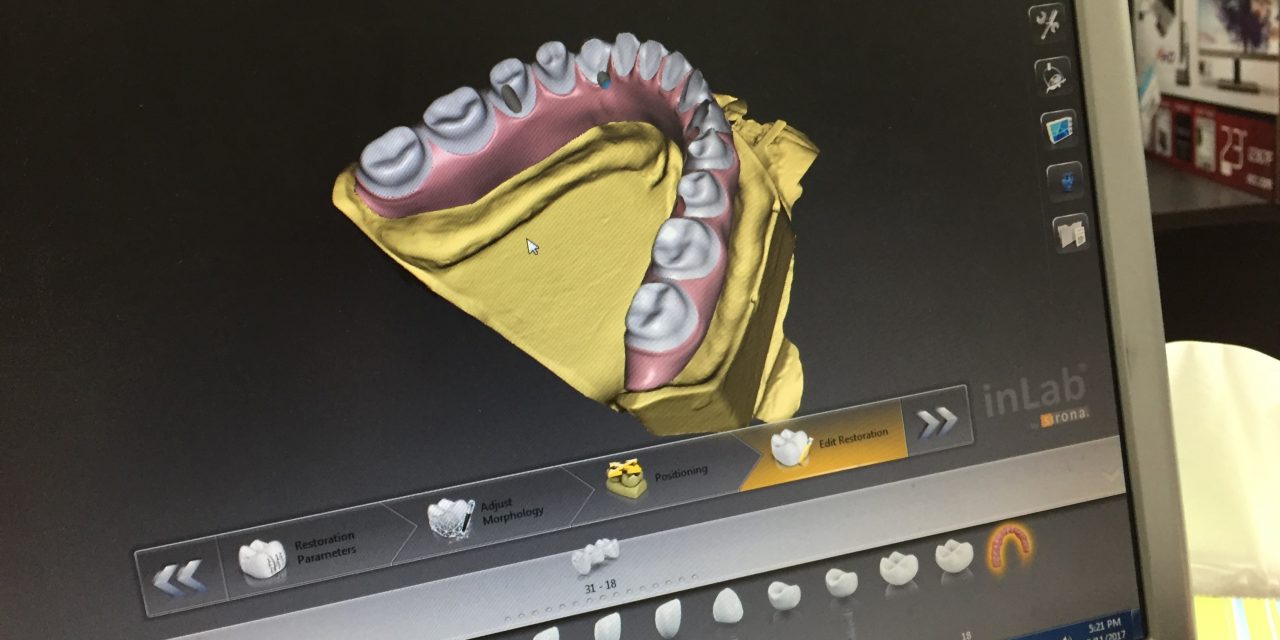
I received this case from my dentist through a physical model. I then scanned the physical model using my inEos X5 scanner. Using my inLab SW 16.1 I then designed the framework (Figs. 1-3) The intuitive inLab software more or less designed the framework for me, so I simply had to align the upper and lower teeth in the proper position.


Fig. 2 Preview of the framework.

Fig. 3 Alignment function within the “Edit Axes” tool.

Fig. 4 Milled framework disc.

Fig. 5 Completed framework.
.

Fig. 6 Prepared framework ready to be seated.

Fig. 7 Designing restorations to prepare crowns for the framework.

Fig. 8 Milled crowns being tested for fit in the framework.
.
Once the framework for the restoration was designed, I sent it to the inLab MC X5 milling unit. We milled our designed framework using Trilor, a new hi-tech fiber composite material consisting of an epoxy resin matrix, and multi-directional glass fiber reinforcement. (Figs. 4, 5)
Once I virtually seated the framework, I was able to design the restorations using my inLab software in order to prepare my crowns for the framework. (Figs. 6, 7)
I sent the designs to the inLab MC X5 to mill the crowns using a wax puck, and then tried them on our framework. (Fig. 8)
After I fit the crowns on the framework, I was then ready to sprue and invest them using the Celtra Press investment. This rapid heating investment has a very low viscosity and an extremely precise expansion control resulting in smooth surfaces and very sharp margins. (Figs. 9, 10)
I then did my pressing with Celtra Press ingots. Because of its fine crystal composition, Celtra Press provides a smooth flow-ability that allows me to achieve a successful press every time. It easily presses to anything including veneers, inlays, onlays, etc. Moreover, because Celtra Press produces no reaction layer it is extremely easy to divest. There is no extra time or solution required to remove the reaction layer, and no repeated sandblasting was necessary. I checked the crowns one more time on our framework, and we were then ready to stain, glaze, and finish the restorations. (Fig. 11)

Fig. 9 Celtra Press sprues.

Fig. 10 Finished restorations.

Fig. 11 Beautifully finished restorations using Celtra Press.

Fig. 12 Preparing to start our composite work.
I used the Celtra Stain and Glaze Kits which are specially designed to mimic the shade of the patient’s tooth. When applied it to the Celtra Press crown, it provided truly accurate shade reproductions. I used a small amount of the Dentsply Sirona Universal Stain and Glaze with the liquid to achieve a creamy viscosity and applied the mixture to the surface. Though I believe that great staining is the result of the artistry of the technician, I am very impressed with how easy it is to use as well as the outcome.
We were then able to start our composite work. (Fig. 12)
Conclusion
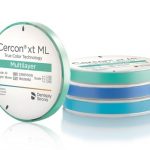
At the end of the day dental labs are a business. In my many years of being in the dental industry I have seen first-hand how the dental lab business is rapidly changing, with many labs closing their doors simply because they’re not exploring the variety of equipment and material options now presented to us to help create beautiful, reliable restorations. I now have a top three list of materials that are perfectly partnered to my workflow: Cercon Ht, Cercon Xt, and now Celtra Press. With strength in excess of 500 MPa, Celtra Press is the new standard in high strength glass-ceramics. It also exhibits a chameleon effect that blends into natural dentition and provides beautiful esthetics for the closest simulation of natural teeth. Finding my ideal workflow through technology and a great choice of material partners has been the driver of my transformation into a seamless digital laboratory.


